My two littlest boys: Jack and Henry

My two littlest boys: Jack and Henry

Sunday, January 13, 2013

Peg People Experiment: Pirate

Peg People!!!


I saw these on Pinterest and on some crafty websites and thought I could give it a shot too. I have been penned in this house with my sick babies for a week and was getting cabin fever. Instead of doing a ton of laundry like I should have been doing, I decided the cure to a wee bit of cabin fever was to make a pirate of course. The laundry will have to just pile up a little more. So, while Henry was taking a much needed rest after a good dose of antibiotics, and Jack was busy playing Curious George on the computer, I got busy. Oh yeah, but Doug was playing, I mean working, on his computer just in case the kiddos needed help while I was most definitely playing with this project.

First, I just used regular old acrylic paint. My Mom got me a huge 24 pack for Christmas and I was happy to get it out. You don't need anything else fancier.

I snuck out of the house for a bit on Saturday when I thought the kids were finally getting better. (Yeah, that was wishful thinking.) Anyhow, I escaped to Hobby Lobby and the Dollar Tree. I found an 8 pack of peg people for $3.99. I got them and managed to only spend $6.98 total in Hobby Lobby. (That's a first.) I also need a clear varnish or glossy coat, but didn't see it at first glance and just didn't have the patience or will to keep looking. I will go the next time I am out and about....

Here's what I made in basic steps.


First, lightly outline what you want to draw on your peg person. Then figure out the order in how you want to paint it. The paint dries in 15 minutes. I suggest at least two coats. Each part doesn't take too long, but there is a lot of wait time. (During the wait time, I should have done the laundry. I didn't.) 

You can sorta see the penciled in part in this picture. Looking cute, huh?

You can really see how small this little guy is compared to this little 4 oz paint bottle. He's so cute.

Looking good so far.

Almost done. I think he looks a little like Where's Waldo. He needs his swash buckle. I think a Where's Waldo could be cute though. :) 


Here's the final product without the gloss! I should have taken a picture of the back. His little red bandanna hat ties in the back. It is so cute!

I have 7 more pegs, so there will be a whole crew of friendly pirate for Jack to play with soon. I also bought a pretty awesome felt pouch on clearance at Hobby Lobby for them to be stored in. I'll take a picture of that with the rest of the pirates when I finish. 


Monday, January 7, 2013

The Scoop on Poop....in Cloth Diapers!

Okay, I have had a lot of people ask me about cloth diapers out of pure curiosity or because they are thinking about trying it out themselves. Read on to see what our experiences have been. (Disclaimer! Please pardon any typos, misspellings, etc. I am writing this quickly during nap time!!!)


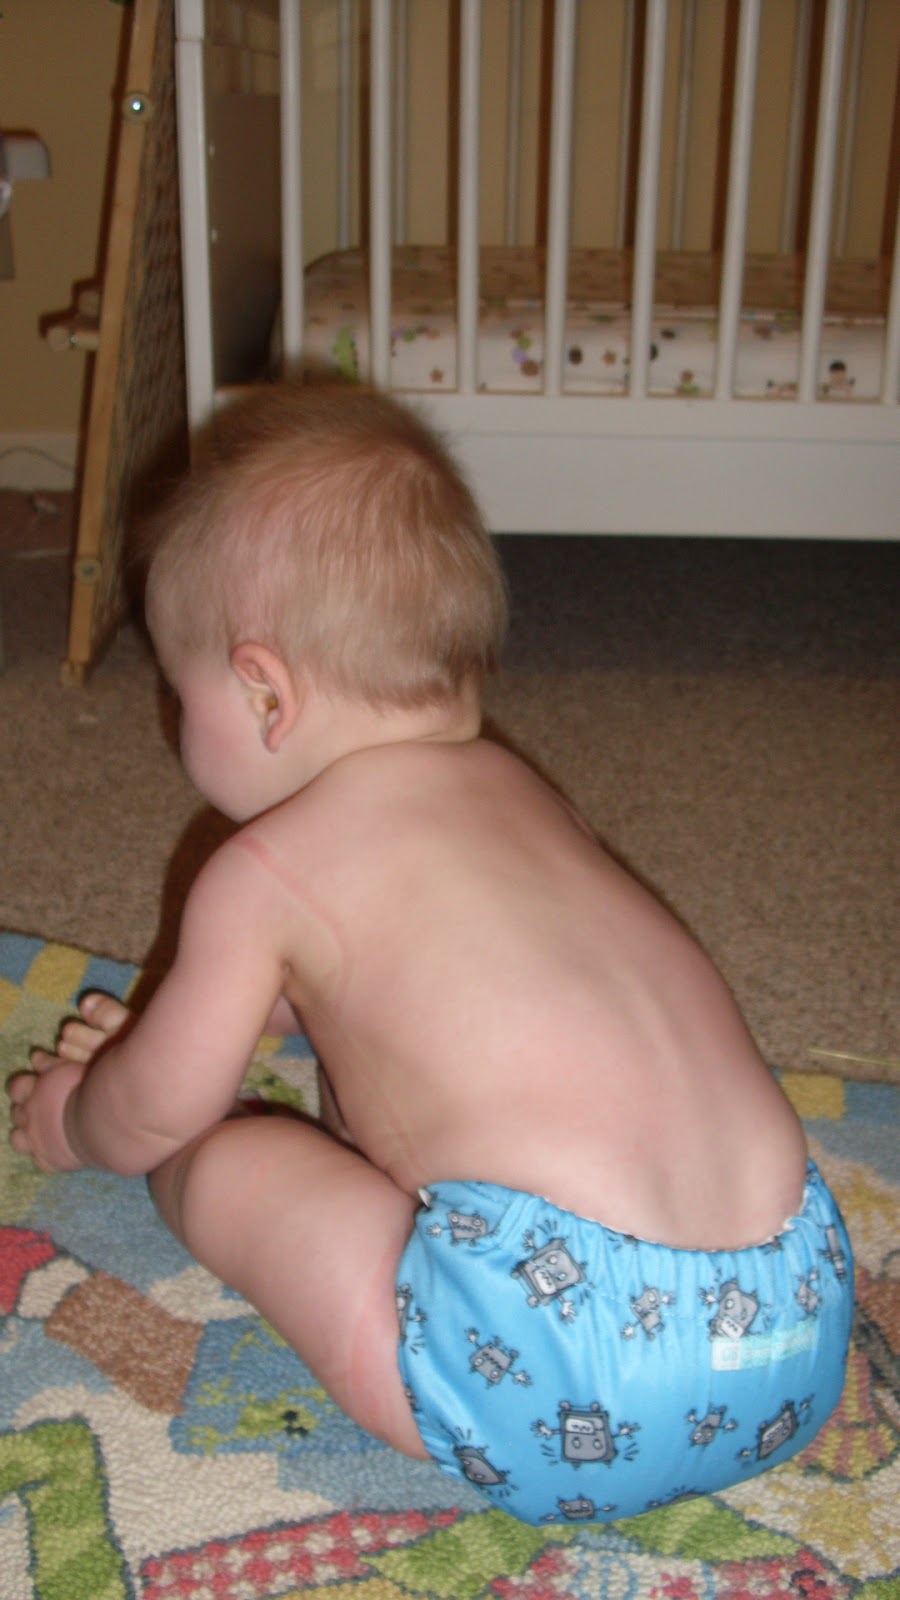
Our youngest wearing a cloth diaper.


First of all, we did not use them with Jack. We used disposable diapers and then pull-ups until he was able to successfully go potty and use underwear. I never even contemplated using cloth with him because of his enrollment in daycare and for the upfront cost of cloth diapers.

 I am not going to try to convince you to use cloth diapers, but just provide the information. You have to decide what is best for you and your baby!!!

Also, this is important!!! You do not have to do all of one way or the other. You could do cloth diapers part time. We made the decision to use 1 disposable diaper and a diaper cover for night time. We were not having success with different overnight options. Henry would wake up in the middle of the night because he had soaked through his diaper. (Before you ask, yes, we tried extra inserts, wool, hemp, etc!!!!) We needed sleep, so we bought the overnight heavy wetters, Pampers. (Yeah, they are expensive, but getting good sleep is priceless!!!!)

First, here are what Doug and I see as the pros and cons.

PROS

-Less diaper rash than we saw with Jack (although, different babies have different tolerances to pH levels, etc.)
-You can't run out!
-Over a period of time, they are far less expensive than disposable diapers
-Way better for the environment than disposable diapers
-Ease of use (I'll explain in detail later, but takes less time than initially thought to wash, dry, stuff, etc.)
-I can't ask Henry, but they look and feel much more comfortable than disposables
-Cute designs and colors
See, look at the cutey tush! 


CONS

-More laundry to do! (Can't lie, that part does kinda suck, but not that bad!)
-Relatives seem to have a harder time to figure out how to use them (They do have a lot of snaps!)
-They do require care as opposed to just tossing the dirty diaper.
-Can be bulky in the diaper bag.
-Would be difficult to manage out-of-town and some may not want you to wash in their washing machine (we use disposables for that purpose)
-Very expensive to buy all the diapers you need upfront


So those are the pros and cons from what we can tell, but we still find the savings in cost $$$$, ease of use, and the comfort for the baby to be what really convinces us that we made the right decision. Also, you do get that "do-gooder" feeling for helping the planet too!!

I never really kept track of what we did spend to get started, but we did borrow size small diapers from a friend. (There is a huge market for buying diapers used, btw!) I did buy new inserts to use with the used diapers. There was nothing wrong with the other inserts, but I just felt better with using fresh new ones. When I was done with those, we bought more.

Check out Kelly's Closet for a lot of different products and prices. Keep an eye on their sales and promotions. They often give away a free one size diaper with a minimum purchase or have free shipping. (I have checked other websites, but like that one best.)

By the way, when the baby is first born you may want to first use disposables because the one-size diapers won't fit your tint tot yet. (Unless you have a ten pounder! Yes, you know who you are! LOL, God bless you!)They also need changing every hour or two, so you would be up to your eyeballs in laundry!! I started using cloth diapers around 4-5 weeks. I was nursing around the clock and in the trenches of new motherhood with a toddler, so I didn't even want to think about extra laundry and a learning curve.


Here is what I would recommend you would need should you decide to use cloth diapers.

1)  I recommend 18-22 diapers if you plan on doing it full time from the get-go. (This means you could do laundry every other day or day and a half. You don't want to have to do it everyday!)

These are just some of them. I put them in baskets underneath his changing table.  

2)  2 large wet bags that can fit into a diaper pail. (1 to use and one to use when the other one is in the wash.)
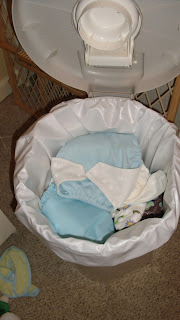

This is one of my wet bags. They do come in different colors, patterns, designs, etc. See how it fits into a regular diaper pail. The wet bag has an elastic top so it doesn't fall into the diaper pail. Those are used diapers laying in there.

3) 2 or 3 to-go wet bags for when you are out and about.
4) 1 or two diaper covers for night time purposes (you could also do the old-timey pre-fold diapers inside of those. I do NOT do that. Looks too hard!!)
5) Free and Clear detergent (some websites and other sources will tell you that you need other special stuff, we just use this and it works fine!!)
From Costco

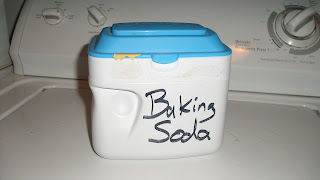
6) baking soda to freshen up loads
Yep, that is an old Similac canister. I always try to reduce waste and reuse when I can. 

7) white distilled vinegar if the diapers smell like ammonia
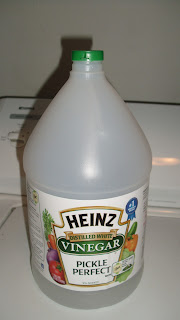
Regular old vinegar is just fine. It also acts like a natural softener too. Which is good because you can't add softener to cloth diapers.


8) dryer sheets (Just kidding!!! They look like them though! They are disposable liners to catch poop. They are flushable and flushable wipes from Costco.) (BTW, they don't really work on catching poop effectively until your baby starts to eat some solids. You can probably figure out why. You just use a wipe to scrape off the big mess into the potty and flush. The washer will get the rest of it.)


9) I was using a wipe warmer with wash clothes in it for reusable wipes, but it just wasn't working out as planned. Everything I read had said one cloth will do the job. Not for me. I still used like 3-5 wash clothes for the big messes and I just didn't have that many wash clothes I wanted to use for that purpose. So, I just use the flushable wipes. 
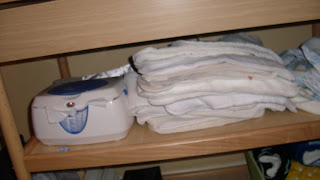
You could use a wipe warmer to make your own reusable wipes. All of the inserts on the right are for extra stuffing.

I do not use the hose and sprayer, because honestly, that looks like a hot mess to use!! I don't want this to be more difficult that using disposable. I never even bought one. And honest to goodness, once you get a system down, it is not more difficult. 


Here is how you do it. I am a visual learner so I took pictures. I had to skip some steps for baby Henry's privacy. You can fill in the blanks!

1) Put your happy baby on the changing table or flat surface and undo the diaper. This one you see, has snaps. It takes a learning curve to figure it out, but once you do it is super easy and fast. 

They do have some like this, that have velcro. I like them a lot as they are so easy, but older babies tend to take them off I hear. 

2. Take off the whole thing and it is wet, even better. Just toss the whole thing in the diaper pail. Some people so separate the inserts from the diaper at this time. I used to, but found with a squirmy baby on the table, it is best for me to do it at laundry time.

If it was a dirty diaper, hopefully you remembered to put in a liner!!! If you did, pull off the liner and use flushable wipes to clean off the mess on your baby and pull the flushable liner and wipes into the toilet or nursery lined trash can. (toilet is better to get rid of the stink though!)

3. Get out a new diaper and put it on your baby. (I pre-stuff mine while watching TV at night so I am not fumbling around with that while the baby in on the changing table. If you have a boy, you could get sprayed! Just a word of caution.)


How to Stuff


1) This is the diaper without any cloth inserts in it.

2) Put an insert into the pocket. Notice how pretty and white it is. If you promptly, wash and use the liners, your diapers will stay pretty. I am sure the longer you use them, the more they will look used. You can always replace liners if this bothers you.

3) Add another insert or two on top of the diaper. Remember there is one on the inside too. I usually just have one insert inside and one outside. This may change as he gets older.

4) Fold it like a regular diaper.

5) I know it is sideways, but you can still see that now you just snap it up! Done!

To Wash:
Separate all the layers of the diaper so they can get thoroughly clean. Wash them on hot. I usually wash them on the normal cycle. If they were a particularly dirty load, I will wash twice or do an extra rinse. Then you put them in the dryer. Do NOT wash on high heat. It will mess up your diapers. They will not be water repellent and that is obviously important. If you do notice that your diapers are not absorbing as much water they need to be stripped. That simply means that you should use a little of dawn and bleach on the inserts only. You don't want to ruin your cute patterned and colored diapers!!! That solves the problem. If they are a little stinky, just add vinegar when you wash them. Works like a charm. I always through in a scoop of baking soda for good meaure when I wash the diapers. (Not with vinegar or you will get a volcanic eruption.)

I hope this satisfies curiosities and helps any of you who may be thinking about trying it. It works really well for my family and could work for you too!


Tuesday, December 18, 2012

Snowman Donuts

If you are keeping up with what happened last night, this is the breakfast that Buddy was supposed to have set up for us last night. 

Instead, we did it together and Jack and I loved it. It is also a little easier when you don't have to wake up super early to finish last minute details when it is supposed to be a little elf setting it up. The snowman donuts I have seen everywhere so I don't have a specific credit. I used jellied orange slices and just cut them to look like a nose. The pieces of  "coal" are chocolate chips. This was really easy and something I would probably do for students when I go back to teaching because of the low cost of ingredients, ease, and how well received it was!


Monday, December 17, 2012

Mommy, send back Buddy the Elf to Santa...tonight...I mean now!!!!!!

Our version of Elf on a Shelf was a flop! I mean, get that elf, the hell outta here! 


It was quite magical when our package arrived today from the North Pole. (I meant to take a picture of it, but under the current circumstances, it was best that it was removed from the premises.) While Jack was at school, a package was sent from the North Pole with our "Christmas Cheer Elf, Buddy" in it along with a package of candy canes and a Santa Pez dispenser. Jack was hugely pleased that Santa sent him such a nice early present. I thought this was just great! 

Anyhow, I wrote a letter posing as "Bernard, the head elf." It explained that this elf was here for the next week to spread Christmas cheer, and so on...  It also said that Buddy the Elf, will become magic just at night... Big mistake.... That part creeped the hell out of Jack!!!! (But only did that feeling surface at bedtime.) Below, is the letter he received.

Dear Jack and Henry,
I am writing to you from the North Pole. I am Bernard, the head elf, in Santas workshop. Santa Claus thinks you and your brother Henry are two very good boys. He wants to send you someone special to help spread the Christmas cheer! He is a Christmas elf and he lives in the North Pole. He must go back home after Christmas, but he will stay with you for a couple of weeks. His name is Buddy. Jack and Henry, you must be very careful with him. He is a magical elf, but he only does his magic while you are asleep. He doesnt like to be played with during the day while he rests. Since he is a magic elf, he may get into a little elfish mischief. If he doesnt get back to his resting place by the morning, please take care of Buddy and put him back to rest. I hope you enjoy having Buddy the Christmas Elf spend time with your family.
                                   

Here is Buddy the Elf and the bed that Jack very happily made him, during daylight hours. Cute, huh? He gave him a slipper for a pillow, a receiving blanket, and a little book for him to read. No problem! 

Buddy-the-Elf: I know, he is frightening.


When it was bedtime, Jack expressed concern over the fact that the elf would become "magic" at night. I assured him he was not a naughty elf and that Santa Claus sent him to be a nice, friendly elf who would have fun with us for this week. One of the reasons we didn't want to do the Elf-on-the-Shelf, was because I didn't like the scare tactics and that the elf was spying on children to report to Santa. Well, as bedtime continued, I could sense the ever increasing anxiety over the elf. I told Jack that I would whisper to Buddy and tell him not to be magic. That seemed to satisfy him. After a few minutes had passed by, I heard Jack yell for me in his room. He was clearly distressed as he was all sweaty and crazy eyed. (Geez, now I may be on Santa's naughty list for starting this....) Anyway, I asked Jack if it would be okay if I wrote Santa a thank-you note so we weren't rude and just send Buddy back to the North Pole in his box. Jack said that would be great! He said it with cheerful gusto! Whew! Crisis averted! As I was closing the door, Jack said he felt much, much, much, much better! Wow! Unexpected results. Maybe we'll try next year. Maybe....


Here is the letter I sent back to Santa Claus. ;) 


Thursday, December 13, 2012

How to be an Awesome Mom!

This will be a very brief blog as the secret to being the best mom in the world is this: Do not destroy your children when they lie right to your face while you both stare at the evidence of the lie right there in the sink. The end. Letting your child survive to see the next day is good enough.

Thursday, December 6, 2012

Pinterest Christmas Crafts I Tried


Have you seen these floating around Pinterest? Well, I actually tried them out and they mostly turned out pretty good. Here's a sampling of the crafts we have done.


Over-the-Door Shoe Organizer Re-purposed for Children's Advent Calendar Countdown 


I just used check sized white office envelopes and wrote out the numbers using green and red markers. To give it a little extra "Christmas Flare" I added a bit of garland from the Dollar Tree. Jack approves. Especially since it looks extra flashy next to the boys' doors to their rooms. The original idea came from A Girl and a Glue Gun, here. I loved her Grinch Themed advent Calendar, but I surely did not have that time to put into it.  That would be cute another year, if I did a little at a time while drinking a glass of wine after the kiddos are tucked into bed. The best part of this calendar, is that you can change it to whatever theme you want. My theme was, "Make it in 1 Hour or Less!" I still love it! 


(It's pretty snazzy, isn't it? Think "Grinchlicious" ;) 
Anyway, here are a couple examples of the envelopes.


 Here is Jack opening up the first envelope. You can put whatever you want inside. I put a list of suggestions on a past post. The bonus feature... since this was originally a shoe organizer, you can also put in small gifts. Ideas: small candies, little dollar store toys, mittens, hot cocoa packet, etc.


This was one of the strips of paper inside an envelope. We will go see the decorated tree in our Historic district.

You've seen this one, right? The Handprint Christmas Tree! I love it!!!!


These are Jack's Handprints Christmas 2012.
                                                      The original pinned idea came from here.


Jack's Rudolph handprint Christmas 2012. 

It is from the idea pinned from Kindergarten Cupcake Crumbs

These are Henry's mistletoes. I got the idea from Pinterest

Drumroll, please.............
I saved the best for last!


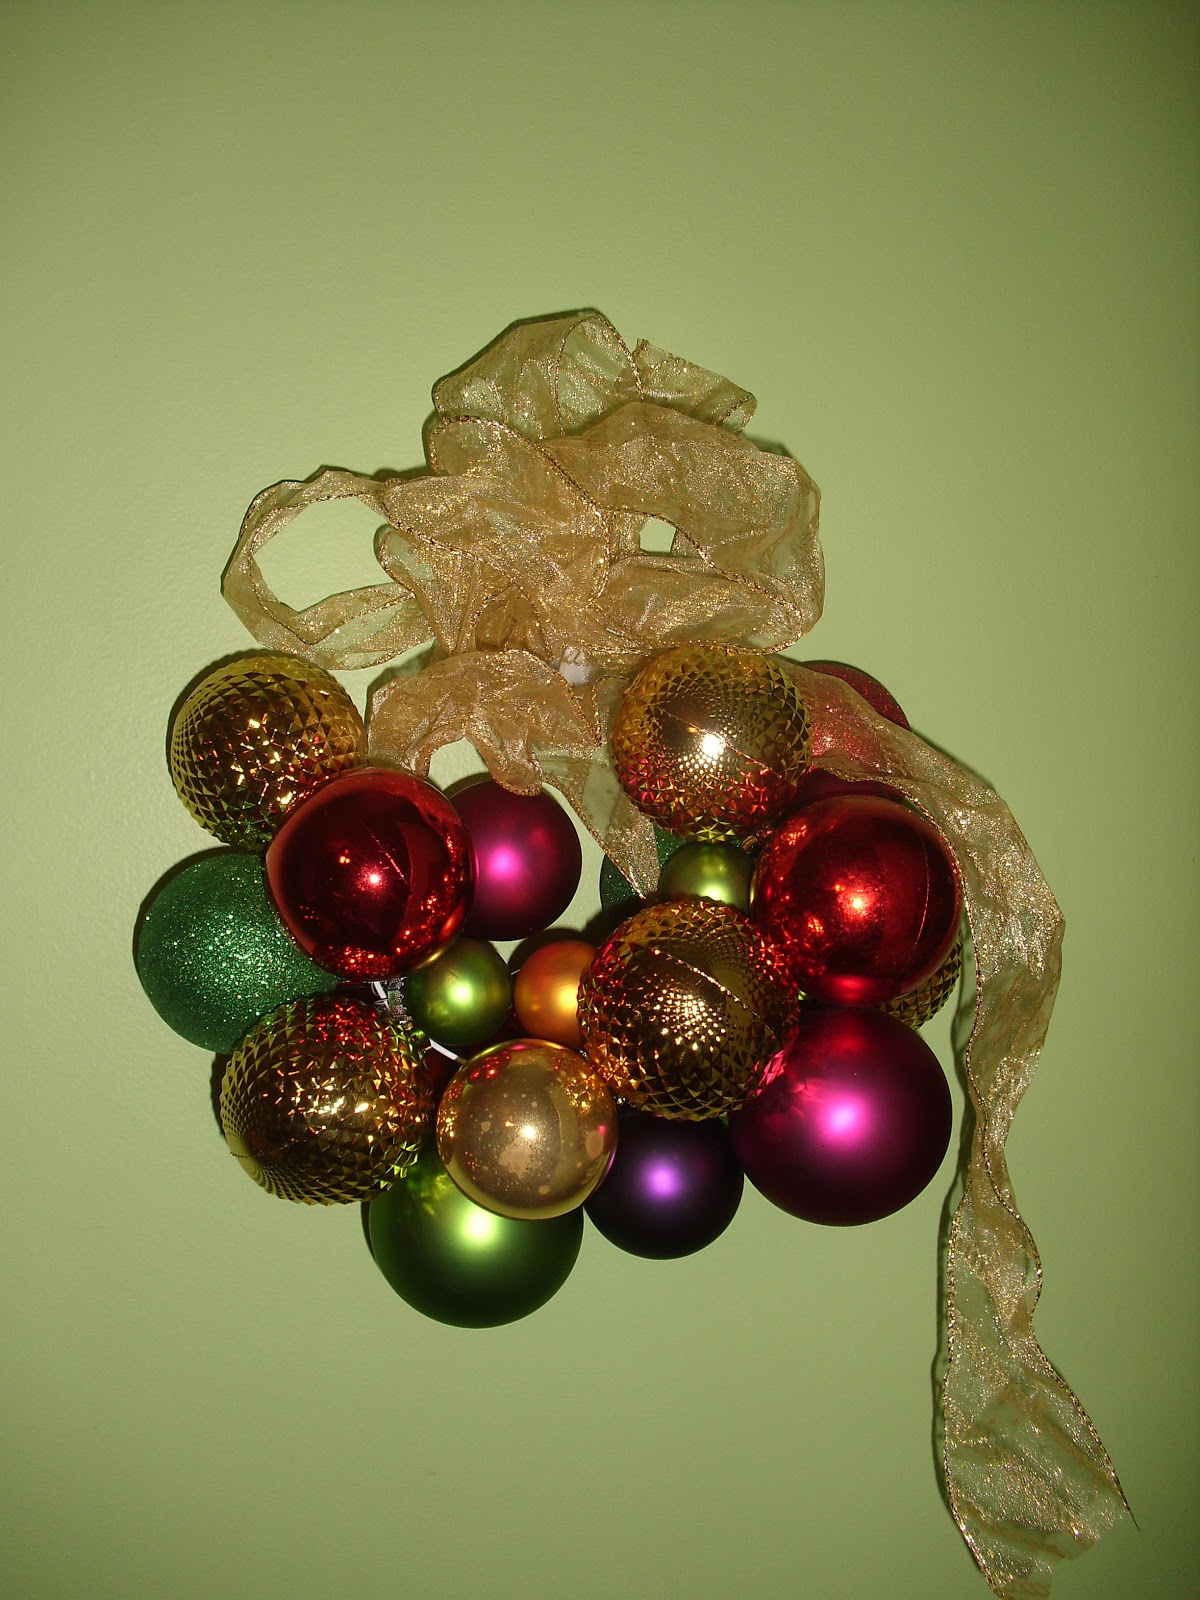
christmas ball wreath

Haha, just kidding. This wreath is not mine. It is the lovely one you see all over Pinterest. Please see credits, here, at The Color Happy.  Scroll down to see my lovely craft fail! Jack thinks it is pretty, so I hung it with a command strip in his room. 


Wah Wah Wahhhhh


I actually think it has potential to work if I had about a million more Christmas balls and more time and patience. since all that had run out, this is the Merry Crap-mas wreath that I got instead. LOL 

Wednesday, December 5, 2012

How to Make Homemade Baby Food for less Money and No Hassle

Due to popular request and for general how-to information, this is a detailed "how-to" guide to making your own delicious baby food. I have, in my opinion, simplified and perfected how to make it since I started a couple of years ago when Jack needed baby food. It is an extremely easy task and one that I don't find to be bothersome at all. I have friends who don't seem to believe me when I tell them how easy and inexpensive it is. Trust me, you will save a lot of money and this won't take you forever. (Before you roll your eyes and say to yourself, well she isn't working, of course she has time...I made the baby food for Jack while I was working!) Ok, here I go. (I even took pictures to make sure it all makes sense.)

First, pick out what fruit or vegetable you are going to prepare. Remember that when you first start, you should only make single fruits or veggies so if there is an allergic reaction, you can pin point the offending food! There are also different fruits and veggies that can cause more gas, etc, so skip the peas and broccoli until the little tike is a bit older. 

I used pears for this example.

Step 1: Chop up the fruit or veggie. These pears were already ripe, so I didn't cut them into tiny pieces. I also left the skin on because that is where a lot of vitamins are and it is going to get pureed anyway. (And, it takes less time!) If, I were making sweet potatoes, I would take off the skin because it is papery. Just use your judgement. 


Step 2: Put all of the fruit or veggies into a pot with a steaming basket. They make some out of silicone too if you need a non-stick one. You should try to always steam when you can, because it leaves more of the nutrients in the fruit or veggie. (There is about 1-11/2 in of water under the steam basket.)


Step 3: Let the fruit or veggie steam. It depends upon the food and your range as to how long it takes to steam. For instance, pears don't take long at all. Maybe 5-10 minutes. Carrots, which I did before the pears, take much longer, 20-25 minutes. Just take the lid off, and pierce the fruit to test for tenderness. It needs to be tender enough to easily puree. (Don't throw away cooking liquid!)

Step 4: Take the fruit and put it into what you got! I have a blender, food processor, and this magic bullet. I happen to prefer the magic bullet. Use what you have. You don't need to buy something special. Puree!!! (You may need to add a little liquid. Use the liquid from the cooking process. It has more vitamins from the food than using tap water.) The older your baby gets, the less finely pureed it needs to be. This is part of what is nice about this process. You can custom make the babyfood based on your baby's growth and development. 

Step 5: Put the pureed food into a strainer of some sort. I use a fine wire mesh basket. Use a spatula or ladle to push the food through into a bowl underneath. Use spatula to scrape underneath the strainer.


PS: You don't need too much space. See! 

Step 6: Yuck! Look at all the extra peel, etc. that is left behind. That is why straining it, is an important step in the cooking process. Babies who are still very texture sensitive will not like any of that. They will gag! 

Step 7: This is the gorgeous, velvety pureed pears that you have lovingly, and thankfully easily and economically made for your baby!


Step 8: This is all the mess left over besides my big cooking pot. See, not too bad at all. Clean it up.

Step 9: Feed it to your baby! Henry likes his with a little formula and oatmeal mixed into it. (You can thicken it with oatmeal or rice cereal or thin it with formula or pumped breast milk.) That by the way, is a boon spoon. It is super handy for one handed feeding. 

Step 10: You will make lots! Put the pureed food into some containers like this. Mine are found here.
Again, it doesn't really matter what brand. I found mine at a consignment sale for a couple of bucks for both of them, so that is what I use! I love them and wish I had two more. 

 Step 11: Put them in the freezer for a couple of hours and go play with your baby for a while!

Step 12: Pull them out of the freezer. If they don't pop right out, run them under the water for a few seconds and that should loosen them right up.

This is what you should have! Gorgeous little fruit or veggie ice cubes! Pop them into a freezer bag. Label them and date them and you are good to go. They should last for a couple of months in the cold part of the freezer, but I usually go through them before I need to even worry about them going bad. In my freezer, I have carrots, butternut squash, pears, and carrots. I want Henry to have a little variety. :) 

So, how much did it cost to make all of this????? $1.99 for a bag of organic pears! You can't beat that. How long did it take me to chop and cook? It took about 20 minutes from start to finish. After I pop the frozen cubes out, I put the rest in and repeat.